Ever walked into a room and felt like something was missing? You look down and see that plain, uninspired floor. Well, it isn't just a surface; it's a blank canvas waiting for its masterpiece. If the word tiling conjures images of hardcore construction zones and complicated power tools, think again! Forget the dusty stereotypes because tiling your floor is the ultimate adult craft project. It’s less about brute strength and more about choosing patterns, playing with color, and creating something beautiful with your own two hands. Yes, there will be moments of glorious mess, but trust us: the moment you peel off the tape and reveal that crisp, new design, you'll be filled with a sense of pride that an off-the-shelf rug just can't match. Get ready to put on your creative hat and maybe some good music, because you're about to make a surface that's not just walked on, it's admired.
Choosing The Tiles

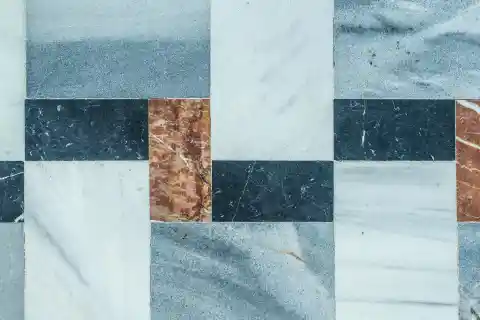
Walking into a tile store for the first time feels a little like walking into a candy shop where everything is square and breakable. There are rows and rows of ceramic, porcelain, marble, vinyl, and things you didn’t even know existed. It’s normal to freeze for a second. Everyone does. But here’s the trick: tiles are basically the outfit your floor wears every day. So think about the vibe you want. Do you want something classy and calm? Or something that hides dirt because you know yourself too well? Marble tiles look fancy, like your floor is about to host a royal ball, whilst mosaic tiles are playful and artsy, perfect if you like patterns that make people stop and stare. Large tiles are great if you want fewer lines and a cleaner look. Floors are forever, or at least until you get tired and redo them again, so pick the tile that makes you smile.
Gathering Tools

Before you start, you’ll need a few tools like the basic tile cutter, a trowel, spacers, adhesive, grout, and a sponge that will become your emotional support object. A tile cutter sounds intense, but it’s basically a glorified snapper. A trowel looks like something a medieval knight might carry, but it’s just for spreading glue. Spacers are tiny plastic pieces that look boring but will save your sanity. And the sponge? That sponge will be your best friend when grout gets everywhere, which it will. Once you have your crew assembled, you’re ready to begin.
Measuring the Space


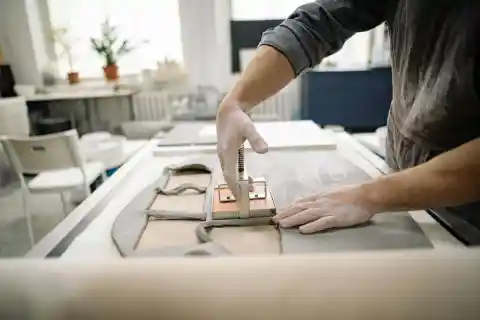
If you ever sat in math class wondering when you’d use geometry in real life, congratulations, now is the moment. Measuring your floor is the foundation of everything. Without good measurements, your tiles will end up crooked, uneven, or looking like a puzzle someone gave up on. So you have to start by measuring the length and width of the room. After that, write it do, then measure again. The golden rule is measure twice and cut once. This saves you from heartbreak later. Next, use a pencil or chalk to mark straight lines on the floor. These lines are your guide, like the rails on a bowling lane that keep your ball from flying into the gutter. If numbers stress you out, pretend you’re drawing a treasure map. The X is where your first tile goes. Every line you draw is a clue leading you toward a floor that looks like it belongs in a magazine.
Spreading Adhesive
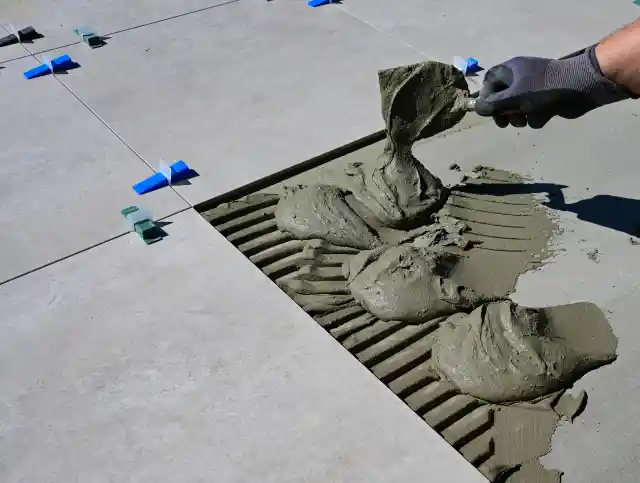
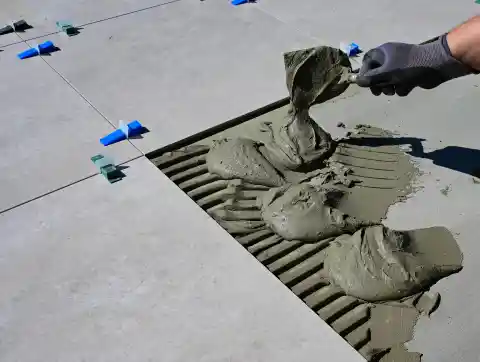
Now comes the messy fun. That's tile adhesive is basically super glue for your floor. It’s thick, sticky, and smells like a hardware store, but it’s the stuff that keeps your tiles from sliding around like ice cubes. Use your notched trowel to spread the adhesive in even lines; don’t slap it on like peanut butter. Take your time to smooth it out and make little ridges. Press each tile into the adhesive with a gentle wiggle. Not too hard, not too soft. Just enough to help it settle. If a tile goes crooked, lift it and try again. You’re not ruining anything, you’re just teaching your tile how to behave.
Setting Spacers


Spacers are tiny, but they’re powerful. They keep your tiles evenly spaced so your grout lines look clean instead of chaotic. Without spacers, your tiles will slowly drift like confused ducks, and you’ll end up with gaps that make you want to cry. So pop a spacer between each tile. Spacers bring order to the chaos. They’re the unsung heroes of tiling, so please respect them.
Grouting the Gaps


Grouting is where everything comes together, butit'ss also where things get messy. Mix your grout until it looks like thick cake batter. Then spread it across the tiles with a float, pushing it into the gaps. Don’t worry if it smears everywhere, that’s normal. Then grab your sponge and wipe the tiles gently to remove the extra grout. You’ll need to rinse the sponge a lot. As the grout dries, your floor starts to look finished. Becoming real and solid, like something you’d see in a home improvement show where everyone claps at the end.
Letting Everything Set

Once the tiles and grout are in place, you have to wait, and waiting is hard. You’ll want to walk on the floor, poke it, and show it off. But don’t. Let it dry and settle. Let it become the masterpiece you worked so hard on. Use this time to stretch your back, drink water, or stare proudly at your work from a safe distance. Tiling isn’t just about the physical work. It’s about learning to slow down, trust the process, and enjoy the transformation. When everything is finally dry, and you take that first step onto your new floor, it feels like a tiny explosion of pride. You did that.