When you make homemade nut milk, you're not just saving money; you're getting an upgrade in flavor and satisfaction that's immediately obvious. It's a surprisingly simple formula. All you need is nuts, water, and your blender. No stabilizers or questionable sweeteners, just pure, clean ingredients transformed right in your kitchen. Sure, the process isn't always spotless. You'll deal with sticky pulp and a few unavoidable drips. But those small, manageable messes are part of the fun. They prove you actually made it yourself, hands-on. And that small effort pays off instantly in a fresh drink that is perfectly customized and tastes better than any mass-produced version. It's a basic kitchen task with an unbelievably premium result, and this is how to make DIY dairy-free milk alternatives.
Why Make Nut Milk?
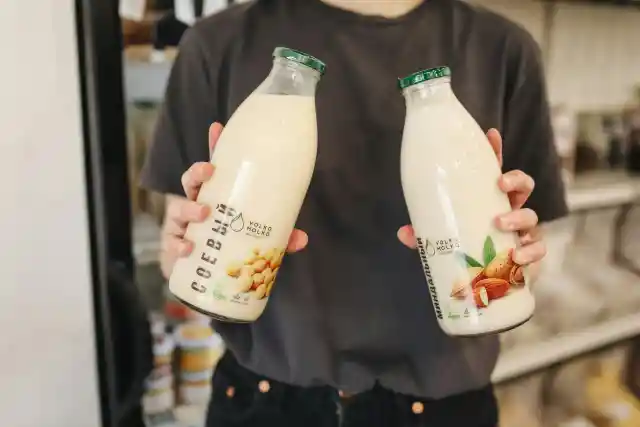

People choose nut milk for a lot of reasons. The biggest one is control. Homemade versions skip the additives. There are no gums, stabilizers, or sweeteners you didn’t choose yourself. It’s naturally lactose-free, generally lighter in calories, and easier on digestion than cow’s milk. Then there’s the flexibility. You get to decide on flavors. If you want it plain, you can make it so. If you want a touch of vanilla, a pinch of cardamom, or a hint of salt? Go right ahead. Each batch can have its own character; unlike something prepackaged, it’s exactly what you want it to be.
The Tools You Actually Need

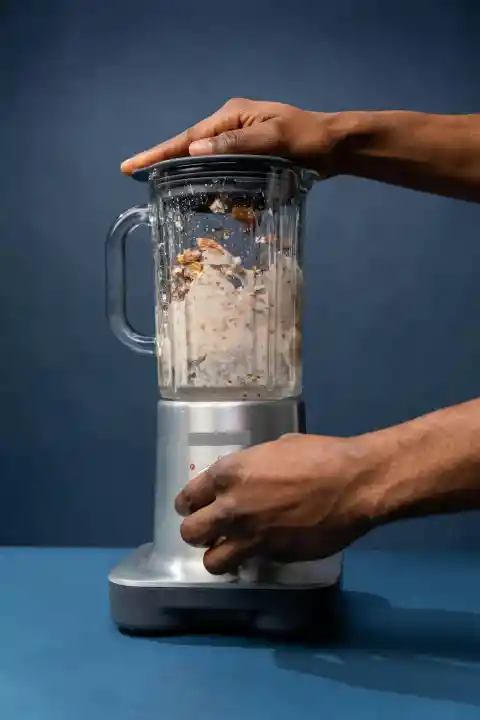
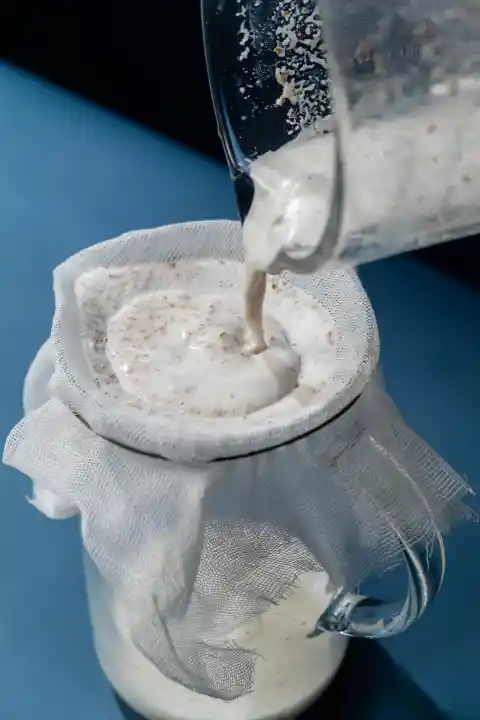
Here’s the good news: you don’t need any specialized machines. A blender, a bowl for soaking, and a fine mesh strainer or a nut milk bag cover it. That’s it. Just pick your nuts, soak them overnight, or at least for six to eight hours. Rinse and blend with fresh water, then strain. Yes, the straining can drip, and yeah, pulp sticks around, but don’t let that stop you. That’s all part of the process of turning raw ingredients into a drink you can enjoy. And the pulp doesn’t have to be wasted either; it’s great for baking, smoothies, or making energy bites.
Ratios and Getting the Right Texture
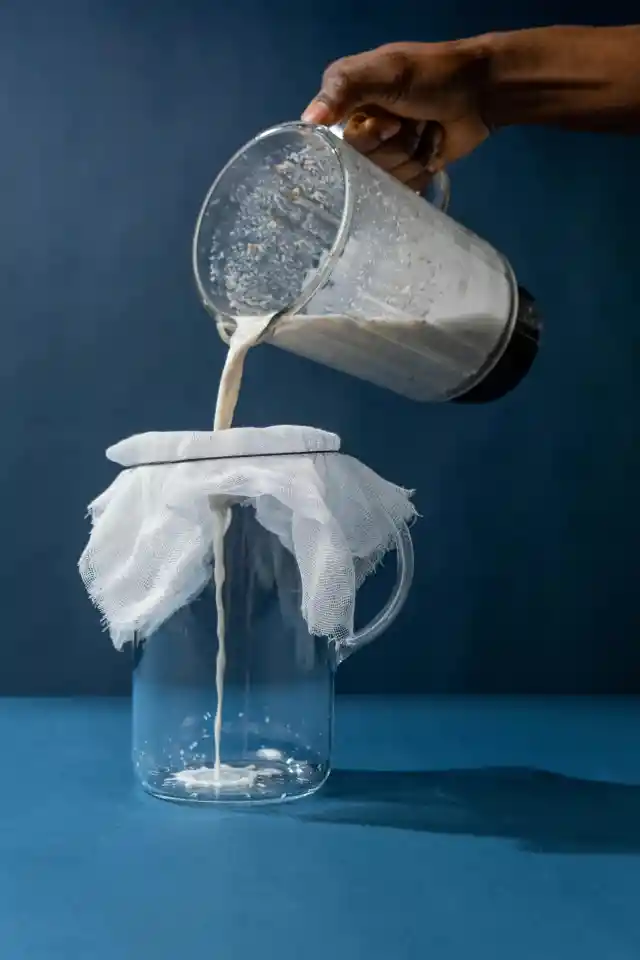
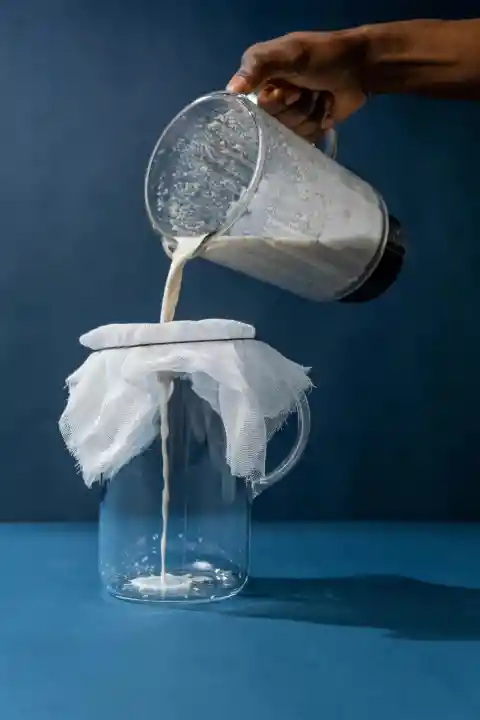
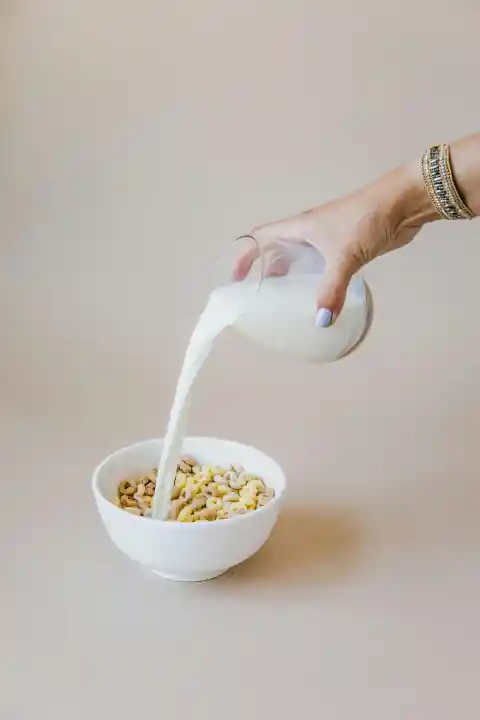
Texture is crucial. If it's too thin, and the milk feels weak, and if it's too thick, it can be hard to mix in cereal or coffee. A good starting point is making sure one part nuts to three or four parts water. Then adjust depending on how you plan to use it. Use less water for something thick, like a latte, and more water for cereal or smoothies. Blend, strain, and squeeze the liquid out of the pulp and store it in a glass bottle in the fridge. It usually lasts two to four days. Over time, you might notice the milk separating a bit, so shake it before using.
Flavors


Once you have the base, you can experiment. Vanilla, a pinch of salt, or a drizzle of maple syrup keeps it simple. Or try something less common, like cacao and mint, lavender and honey, or turmeric and ginger for a golden milk. You don’t have to follow any labels or trends; you get to choose what goes in. The first sip of your flavored nut milk is a little milestone. You made it, you decided the flavors, and it’s completely yours.
Environmental Benefits

Homemade nut milk has small environmental perks, too. Less packaging means fewer cartons and tetra-paks. The leftover pulp doesn’t get thrown out. It becomes smoothie boosters. Almonds do require a lot of water to grow, so it’s worth being mindful. Making small batches, buying in bulk or locally when possible, and avoiding hidden sugars is already a step toward being more sustainable than most store-bought options. Over time, each jar in your fridge becomes a small step in helping out the environment.
Common Problems and How to Fix Them


Not every batch will be perfect. Milk might separate in the fridge. Hey, it might come out thinner or thicker than you expected, and straining can feel slow or messy. These are all fixable, just adjust nut-to-water ratios, use a nut milk bag, or blend longer for smoother results. Also, keep in mind that homemade nut milk usually has less protein than cow’s milk or soy. Calcium and vitamin D aren’t added unless you include them. So treat it like a small project; even when it’s not perfect, it’s still rewarding.
Storing and Using Your Milk

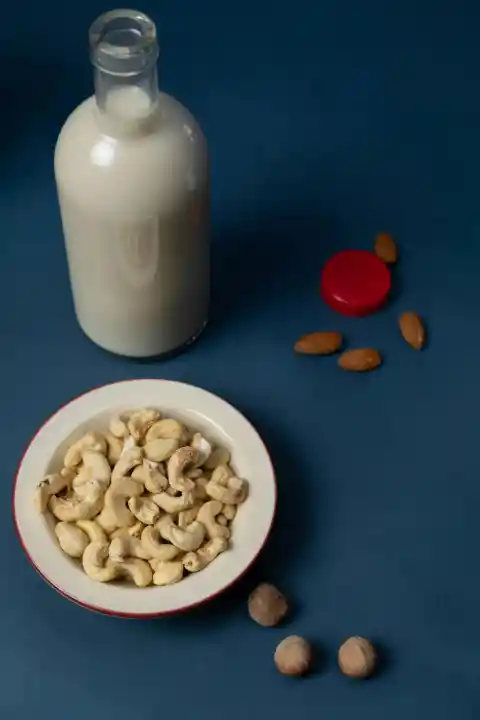
Glass bottles or jars are ideal for storing your milk. Label them with the date, because it’s easy to forget when you made them. Keep refrigerated; they typically last two to four days, though some separation might happen, and the flavor remains intact. Use it for coffee, smoothies, overnight oats, or cooking. With practice, it becomes a consistent part of your kitchen routine.
Finding Satisfaction in the Process

Making nut milk isn’t just a trendy health choice; it’s a hands-on way to slow down, notice small wins, and enjoy a simple, creative process. There’s something satisfying about pouring a glass you made yourself: you can smell the nuts, feel the texture, and appreciate the effort involved. Each batch is going to be slightly different, and experimenting with flavors or using the leftover pulp adds to the enjoyment. Some batches might turn out better than others, but the unpredictability is part of the charm. Yes, it can be messy, but that’s all part of the process. Every spill and leftover bit is proof that this milk is handmade. You handled the ingredients, and the milk reflects that. It’s simple, practical, and satisfying. When you pour a glass, there’s a quiet sense of accomplishment: you didn’t just drink nut milk, you made it.